- Cooler. I used an Igloo one from Target (52 Quart Igloo Cooler) as it is nice and squarish, has easy to remove hardware, and is pretty inexpensive. Any cooler will work as long as you can get all the hardware off and remove the hinges to the top, they just may be a little more work.
- Pallets. I got mine free from work, but there are LOADS of businesses that toss them out. Remember you don't need "pretty" ones and a few busted boards are fine. Be sure to ask before assuming and taking any, but you can find them at big box stores typically out back by the trash. I'd recommend getting standard pallets as we will use all the parts from these and the sizes are relatively uniform. It took 4 pallets to make mine - get 3 at a minimum or you wont have enough of the 2x4 runners to make the legs.
- Plumbing. This can be optional depending on if you want to have easy access to drain the cooler. Building it as I do, you could theoretically reach under the side boards to pop open the drain and do it that way, but plumbing it to a spigot makes it SO much better. For this you will need the following items (to mate to the cooler listed above, yours may be different); 1/2" Male PVC Adapter, 1/2" Female PVC Adapter, 1/2" Hose Bib Male, 1/2" threaded PVC cap, short length of 1/2" pvc pipe.
- Hardware. Bottle opener, hinges, handles. I got my opener and handle from Hobby Lobby and hinges from big box hardware store. Find whatever suits your tastes here. I used 3" hinges for the lid, you could go slightly smaller or larger but 3" seemed nice and beefy to hold the lid (ends up being kind of heavy).
- Wood Supports. Get a 4 foot length of 2x2 or similar wood to support the cooler from underneath. This was the only wood that went into the cooler that was NOT from a pallet.
Step 1 - Strip the pallets
- Remove the outside end boards. Easiest way I found is to use a circular saw and cut just to the inside of the nails on the two ends starting with the underside of the pallet. Then flip it over and do the same on the top.
- Pics
- Cut 8 - 2x4 stringers at 28" in order to get the cooler to the height I wanted. You can go taller or shorter if you prefer here, doesn't matter too much other than if you go over the 28" height, you will no longer have the tops of the boards to make side handles out of (i.e. you will need more pallets for those parts).
- Set up the legs on a nice flat surface and mix/match them up to get a feel for the look, sticking the ones you don't care for as much in the back.

- As you can see in this pic, I placed the legs in the 4 corners and had the "wider" portion on the sides. I think that gives a cleaner look up front and I like the aesthetic of "light/dark" patterns on the sides look.
- To assemble the legs, I used wood glue and a nail gun (2" brads). The brads are mostly there to help hold while the glue dries and if they rust out I'm not worried it wont really matter to the structure.
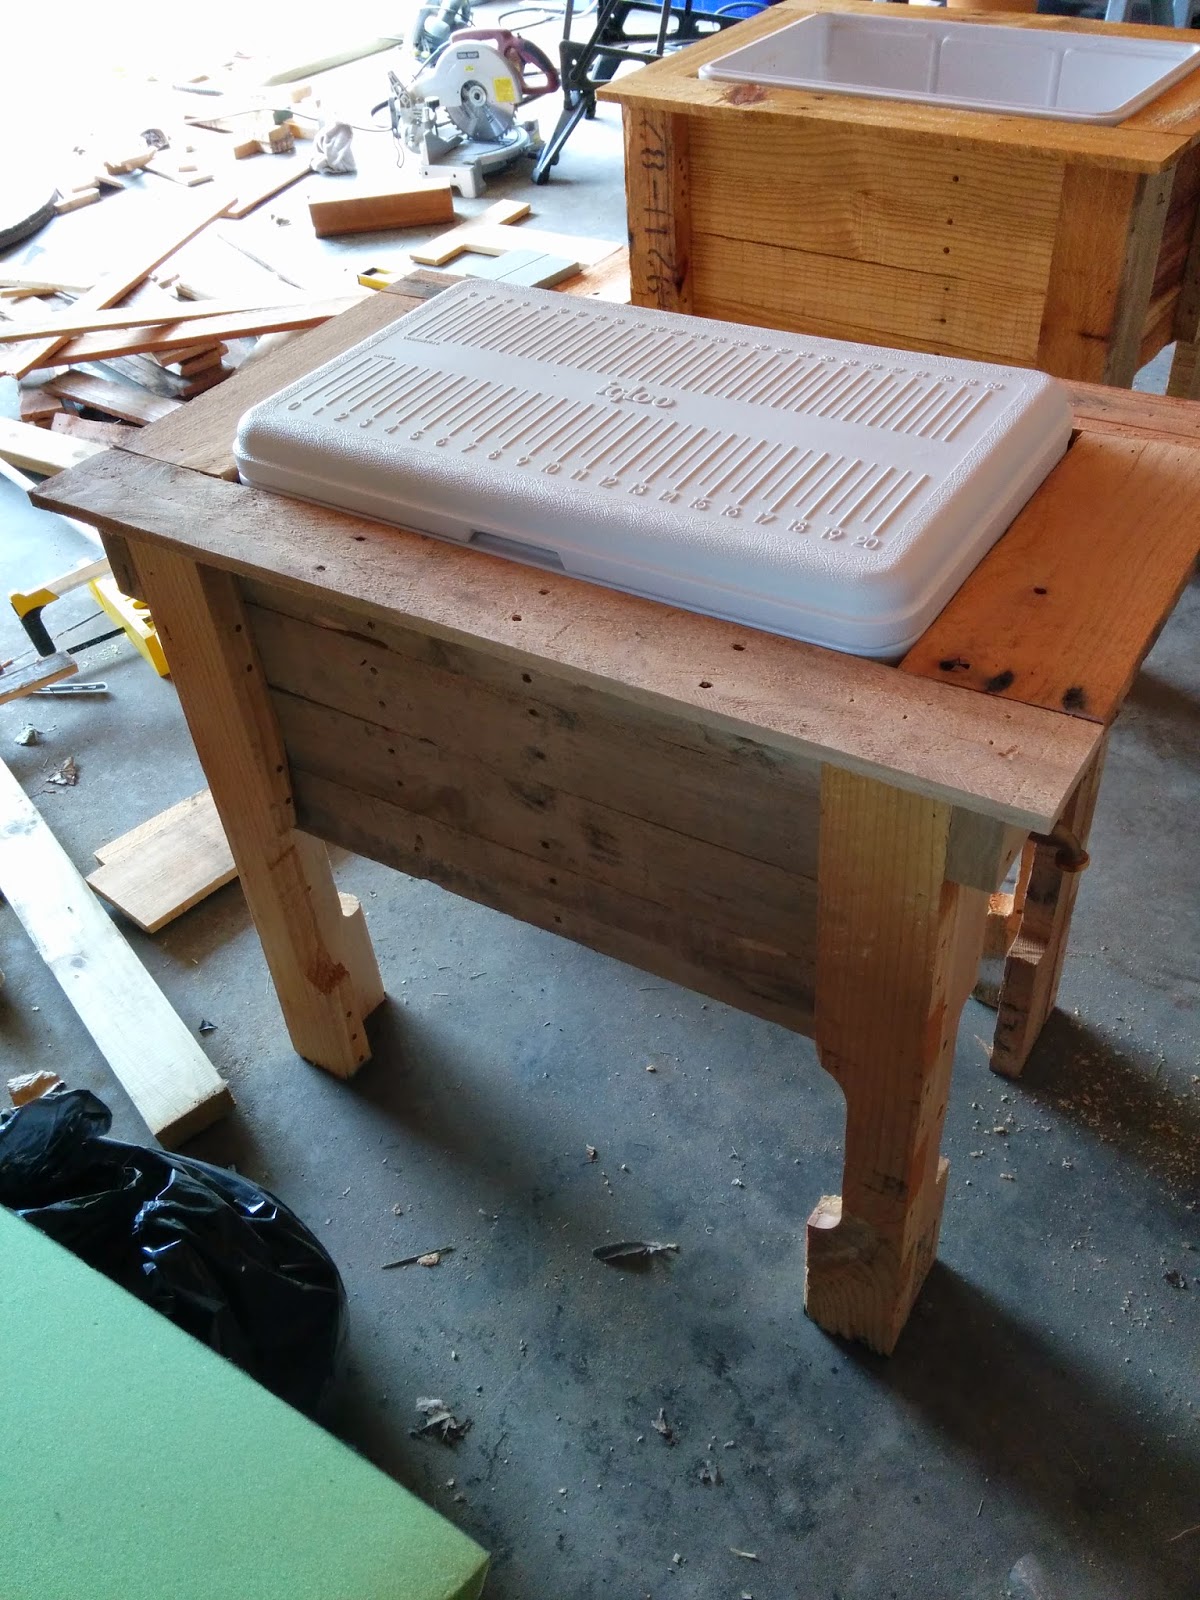
- Place the cooler upside down on the ground and set the 4 legs in each corner (you are building the stand upside down). Now measure the distance between the inside of the legs for board lengths you need to cut. Keep in mind you will need to subtract out the width of your boards (x2 for both ends). This step is tricky and you need to get it right or the cooler may not fit! What I did is cut one board for the front and one for the sides and put them in place to see how things were looking. If I liked what I had I cut two more (back and other side) and placed those as well. Once happy with this, I cut the rest of the boards and began assembly.
- When assembling the structure, make SURE you build it with the same overlaps you had when testing the setup (ie. if you had the front board in first then the side board butting up to that, do that when you assemble or you get to start over...). What I did here is pre-drill holes, lay boards down and applied glue to the edges, then I used 1 1/4" deck screws to attach to the legs from the inside. This makes for a super secure base. Make sure the boards you use go an inch or more taller than the cooler itself. Keep placing the cooler upside down inside the box to make sure of fitment and to see you made the sides tall enough to cover it.

- This can be done one of two ways - the first way I did it was I place 2 of the thinner boards in each corner of the frame to raise it up a bit while the cooler STAYED in contact with the ground. This gives you the proper clearance for the lid on top. The second way was if the cooler fits tight enough, you can flip the entire structure over and push the cooler up/down for proper placement, then fit the 2x2 boards underneath and mark them for installation. I will continue on with the first method.
- Now that the frame is lifted and the cooler is still on the ground, measure the distance between the legs the long ways and then cut and mount the 2x2s to support the coolers weight. I drilled holes from the outside of the legs and then ran 3" deck screws into them to secure them. I wouldn't glue them in place just yet, in case you need to redo the height of the cooler you can easily unscrew them and adjust.
- Take the cooler out of the frame and remove the nut on the inside of the cooler, being careful to retain the plastic washer and the rubber ring that comes off. Once that is off you can pull the plug out from the outside of the cooler. The plug itself, as well as the nut you removed will not be used.
- Build the drain pipe. Do this by using pvc cement and doing it like this (I used about a 2" piece of PVC pipe, but you may need more if your sides are further away from the cooler);
[PVC Male][PVC Pipe][PVC Female]
- I don't have a great shot of this, but here you can see the 1/2" male side going into the cooler. The 1/2" female side goes into the wooden side and that is where the spigot is screwed into. On the inside of the cooler is the 1/2" cap with a hole drilled out of it, that holds the plastic washer and rubber gasket in place and makes for water tight seal. To install it, drill a 1/2" hole from INSIDE the cooler out through the side in the open hole from when you removed the drain. Next, remove the cooler and from the outside, drill an 1 1/4" hole from the hole that you see. Now push the female side of the contraption you made one step ago through the hole from the inside. Replace the cooler and feed the male side back into the cooler and attach rubber gasket, plastic washer, and the 1/2" cap that you drilled a 1/2" hole into. See that was easy right?!


Step 6 - Install the handles and ledges around the cooler
- Flip the cooler upright and test fit the handles (tops) from the legs you cut out earlier. Mine needed just a minor trim to fit perfectly. Attach those with wood glue and some longer deck screws on both sides of the pallet cooler (see 3rd pic below for which piece I'm talking about here. Then test fit pallet boards around the perimeter. I made the long ones in front and back and shorties on the side. For this V2 cooler I made the side ledges out of wider boards then the front and back. On V1 they are all the same but there are 2 detriments to doing it that way - first is a coozie with a drink in it doesn't really fit on the ledge. The second is that you don't have enough board to cleanly mount handles underneath without it sticking out. See shots here to see what I mean;


Step 7 - The top.
- For this step, leave the cooler in place with the cooler pallet upright as we are going to build the lid around the top of the cooler. Put the lid on the cooler like so;
- Now find 4 boards of the same width that will form the perimeter of the lid. Again I made my long ones in front and back the ones I screwed through into the shorter sides. Glue and screw these together. This "box" should fit snugly over the lid of the cooler.
- Once you have the perimeter built, drill and screw 4 screws into the lid of the cooler. Don't worry there is an air gap inside the lid so the screws wont be sticking out on the inside of the lid. I used 1 1/2" screws to do this and had them hit the lid right about at the lip you see on the edge of the lid here. I did this from the short sides of the box lid which you can see one of the screws in the shot above with the coozie on it.
- The top can now be installed by measuring and custom cutting boards to fit the opening at the top of the box. I put standard wide boards at the two ends and then had to custom cut a 3" wide board for the middle (see pics in step 6 to see how this looks). I then glued and shot them in place with 2" brads.
- Now we are getting to the fun stuff.
- Handle. To install the handle I just measured from both sides to center it, and then placed it on top of a small 2x4 laying down on the ledge to give it the proper height.
- Hinges. On the other side, just measure in 3 or so inches from the ends to place the hinges, drill and screw into place. Mine had the tips of the screws just barely peeking out from the underside of the ledge, as it was the back and no little kids etc will be poking around there - I left it as-is.
- Bottle Opener. just find a good spot on the front right leg (for right handed beer drinkers anyway..) and drill and screw into place.
- Brass Spigot. Before putting this on, I cut out another small 3"x3" board and cut another 1 1/4" hole in it and glued it into place to help hide the ugly white plastic of the pipe. Then just put some plumbers tape around the threads of the brass spigot and screw into place.
No comments:
Post a Comment