
Tornado Twister
Assessment:
- Cabinet is in all around good shape, wood-grain looks great (not a fan of the cheap laminate so I may paint that later etc.). Only issue is the top-side laminate is coming up in a few places so needs to be tacked back down.
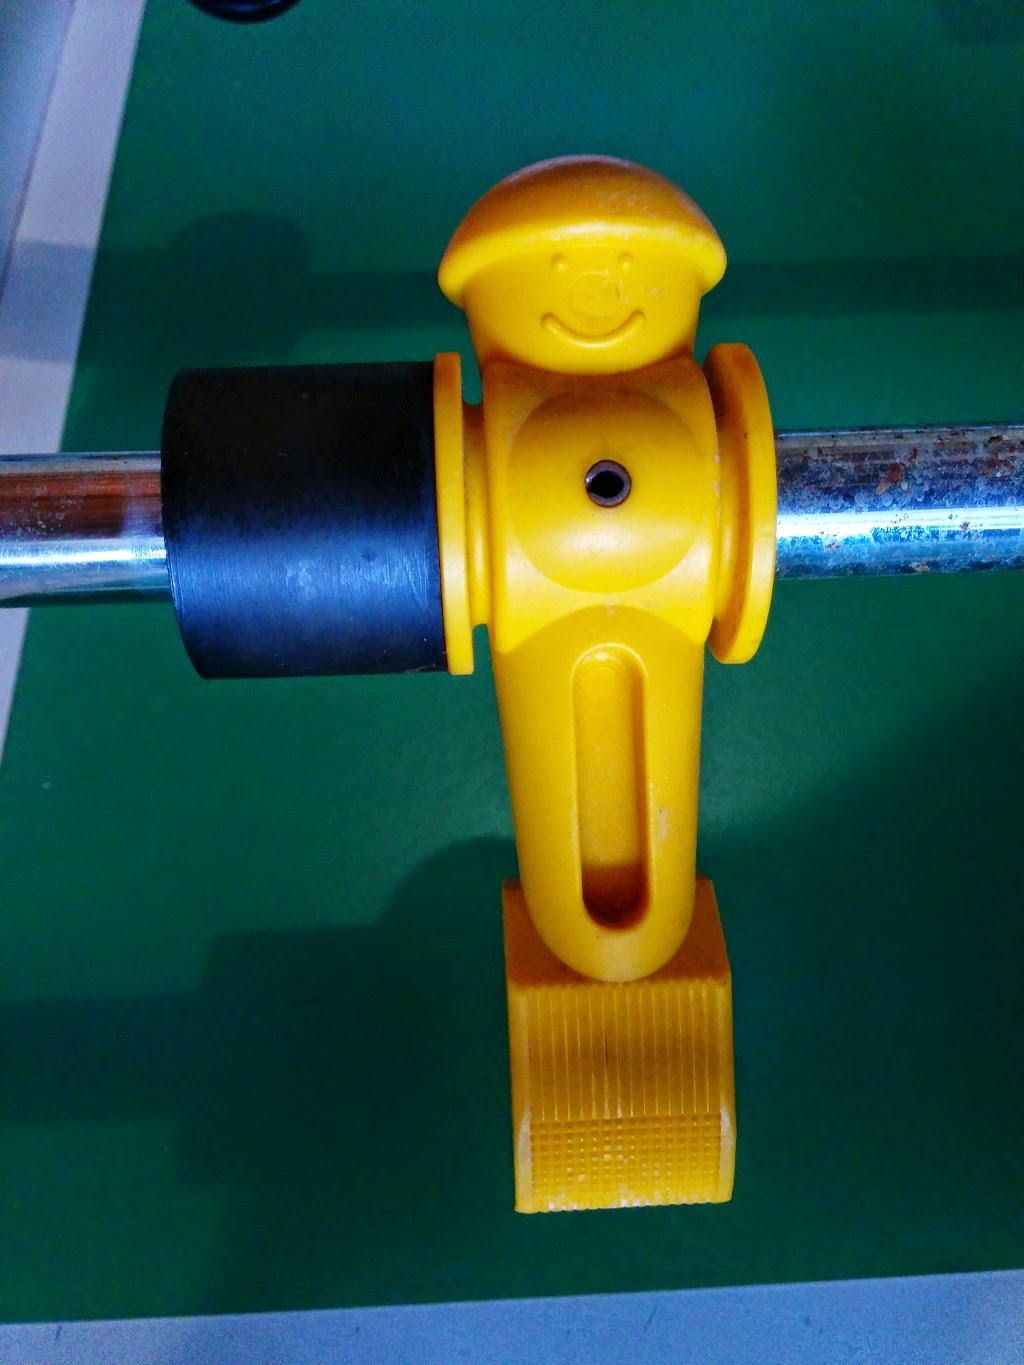
- Foosball men are all there and in good shape. Little dirty so will get them all cleaned up. Not counter-balanced so may replace them at some point.
- Playfield is in good shape everywhere except for the goals. There are cracks on the left and right edges of goals and there is some lifting along them on one side
- Yellow Goal - right and left


- Black Goal - right and left (left being worst of it all)


- Bars have some rust on them and need good cleaning. All seem to spin fine and don't appear to have any bending to them. Two handles are missing and another is almost like a broomstick?! Plan to replace them ALL.
- Goals seem good, no "blow outs" around them - however the cabinet has ZERO ball returns. Goal just drops straight to the floor?! There are also NO holes on any of the sides or ends for a return - this has me really confused, yet happy as I can make my own central return!


Next Steps:
- Order new balls, pins, handles and wire drink holders.
- Remove all the bars.
- Cleanup the bars with aluminum foil and water trick
- Remove and cleanup the men (ultrasonic cleaner perhaps).
- Cleanup the bearings (again ultrasonic perhaps)
- Cleanup rubber bumpers (these seem to be in good shape)
- Replace the bars, pinning men with new pins and installing new handles.
- Cut opening in side with either jig-saw, or more likely use my router with a "guide" mounted behind the opening for ball return landing.
- Invent/build some sort of sloping ball return to get them to land in the ball return.
- Mount drink holders to end (CRITICAL STEP NOT TO BE OVERLOOKED!).
All done!! Well other than the drink holders, but haven't found any I really like so I may just build something. New handles work GREAT and have a great feel to them. Even my homemade ball return is working very nicely. Kids had some friends over and we did a full, double elimination tournament and had a great time.


